Crate Training That Sticks: Pairing Puppy Class Skills With a Step-by-Step Home Routine
Published on July 23, 2026
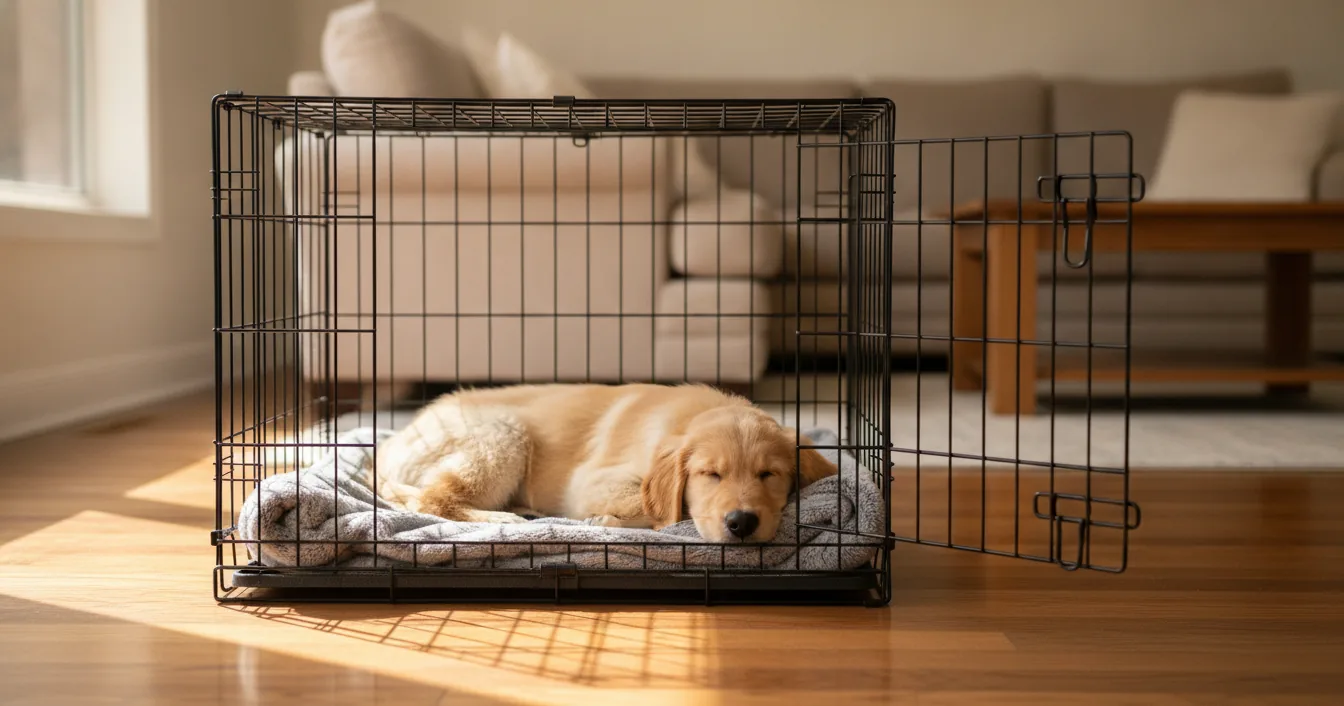
Somewhere in week one of most group puppy classes, the instructor says “and of course you’ll want to crate train.” Then the hour moves on to sit and name games, and you drive home with a wire box in the hall, a puppy who screams the moment the door shuts, and no actual plan. It is one of the widest gaps in the standard six-week curriculum: crate work happens entirely at home, unsupervised, at exactly the point where owners are least confident, and it is the one skill where a few rushed sessions can set you back weeks.
The fix is not more willpower. It is treating the crate as a training project with stages, the same way class treats a recall, and running it on the same clock as the class you are already paying for. Every week of a decent puppy course teaches something that makes the crate easier, and most owners never notice the connection.
Why the Crate and the Class Belong on One Schedule
Three skills from a standard puppy curriculum do most of the heavy lifting in crate training, and they arrive in a useful order.
Name response comes first, usually in week one or two. A puppy who turns toward you for a paycheck is a puppy you can call to the crate door without dragging, and dragging is the single fastest way to poison a crate.
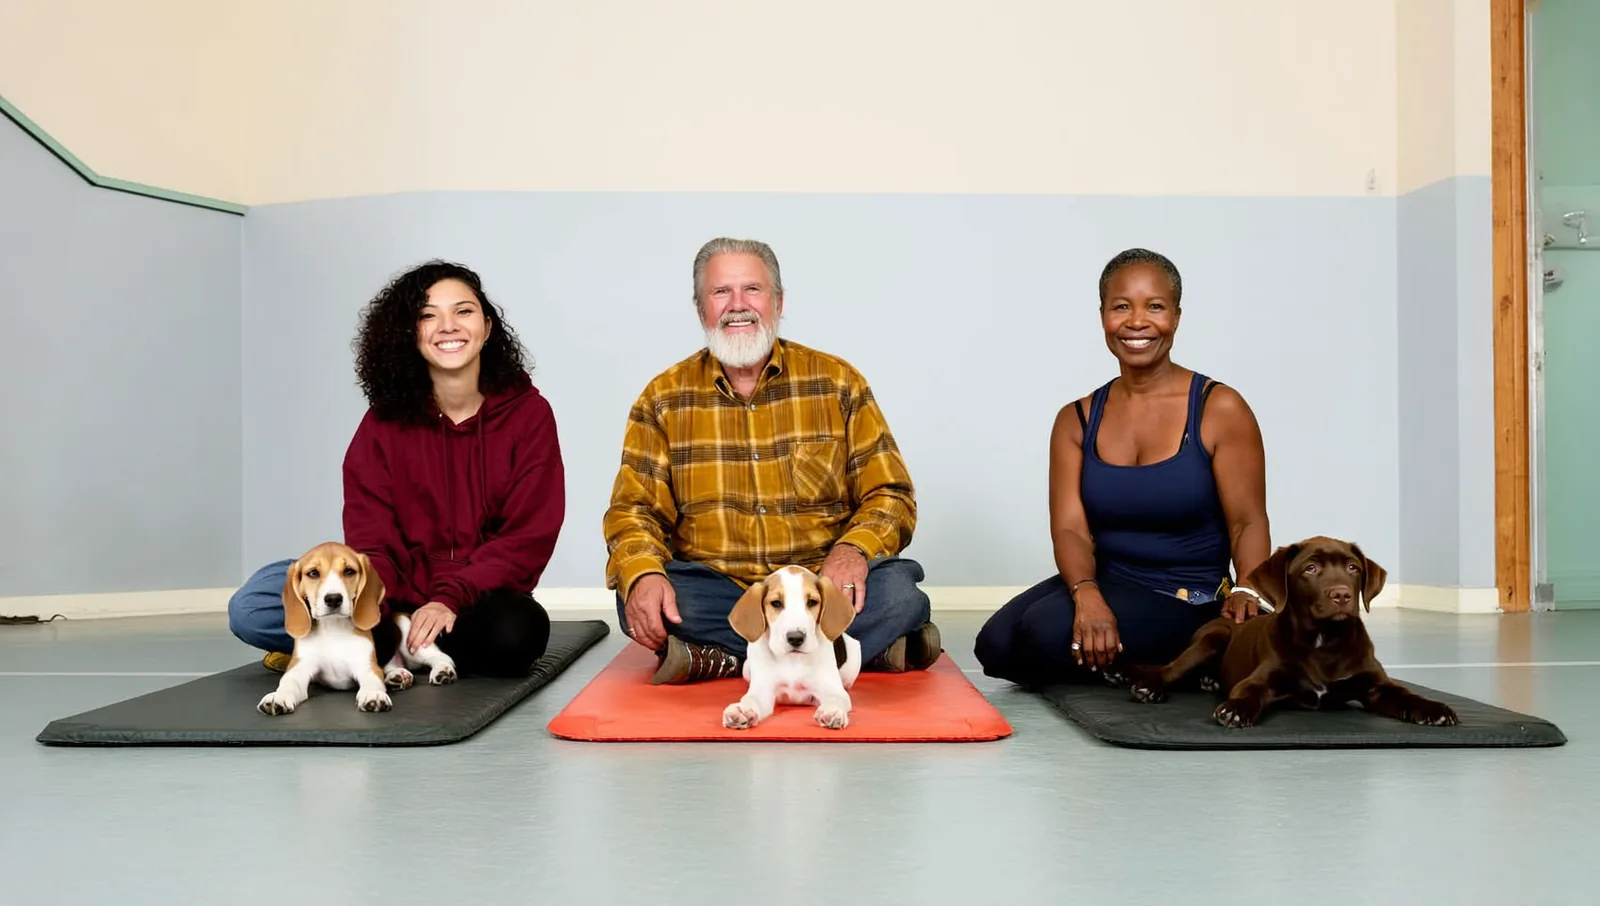
Settle on a mat shows up around week two or three. A mat settle is functionally a crate settle with the walls removed. If your puppy can lie down and switch off on a towel while other puppies wrestle ten feet away, a quiet plastic box at home is an easy step down in difficulty.
Handler focus around distraction arrives in the back half of the course. That is the skill that lets you close a door, take a step away, and have your puppy watch you calmly instead of erupting.
Run the crate plan in parallel with those and each week’s homework reinforces the other. Run it ahead of them and you are asking a puppy to do the hard version first.
The Progression, Week by Week
The stages below map onto a typical six-week course. If your class is four weeks, or you are training a puppy who came home late, keep the order and stretch the timeline. Nothing here is a deadline. The rule that matters is that you move to the next stage only when the current one is boring.
Week 1: Awareness
Goal: the crate predicts good things and nothing else happens.
Door tied fully open, all week. Not latched open, tied, because a door that swings shut by accident in week one can undo the whole stage. Feed meals beside the entrance. Sprinkle a few treats around the outside for your puppy to find alone, with no ceremony from you. Praise anything that happens near it. Play tug next to it. Your puppy does not go inside this week even if it offers to, which it often will.
Pair this with the class week-one homework of name response. Say the name, mark, pay, and let some of those reps happen in the room where the crate lives.
Week 2: Exploration
Goal: the puppy walks in, all four feet, and comes back out freely.
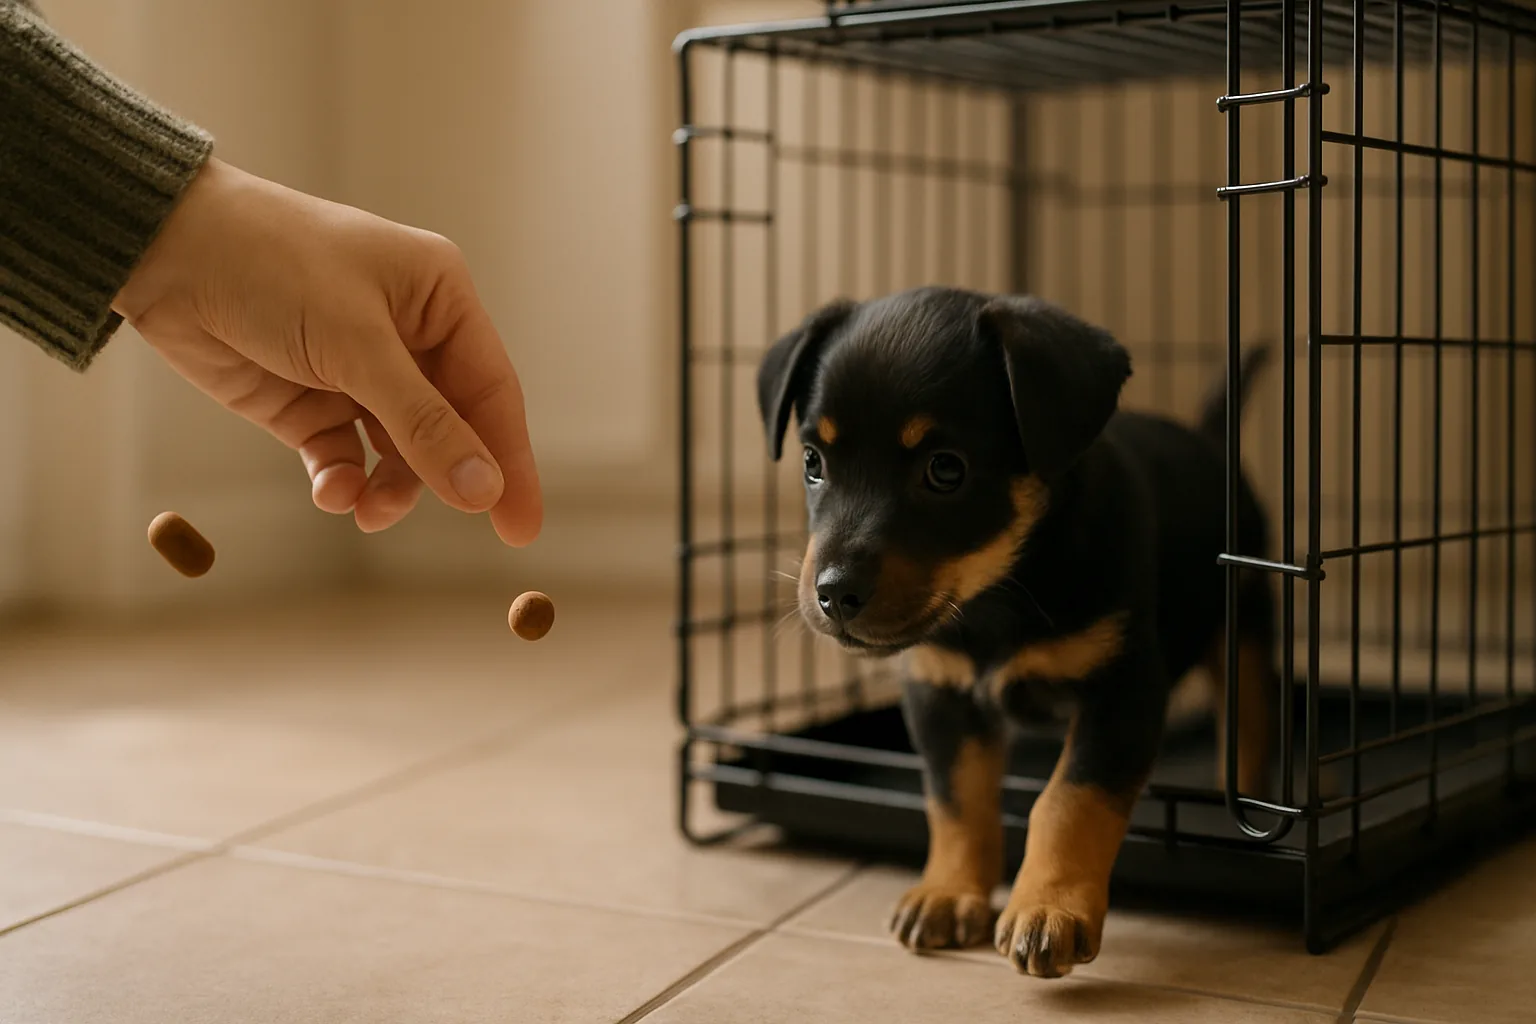
Now you lure. Start with the food bowl in the doorway and move it a few inches further back at each meal. Toss treats past the entrance. Play fetch that lands a toy just inside the door and then, once your puppy is happily retrieving, aim a little deeper. If your class uses a clicker or a marker word, use it the instant your puppy’s feet cross the threshold, then deliver the reward inside so the payment happens in the position you want.
One practical safety note that gets skipped: take the collar off whenever your puppy is in the crate. Tags and buckles catch on bars.
Whether this stage takes two days or two weeks depends heavily on what you are paying with. Kibble will not carry a hesitant puppy over an unfamiliar threshold, and it is worth running a quick preference test to find out what your puppy actually values before you conclude the crate is the problem.
Week 3: The Door
Goal: the door can swing, close, and latch without the puppy noticing.
This is where most home crate training quietly fails, because owners treat the door as one event rather than about twenty tiny ones. Scatter a handful of treats on the crate floor so your puppy is busy, then move the door an inch or two toward closed and immediately secure it open again. If nothing registers, try a few more inches. Work up to a full gentle close, mark, toss treats in, and open it again straight away. Do not latch until the swing itself is a non-event.
The latch deserves its own session. That metallic clank is a distinct sound, and for a noise-sensitive puppy it can carry more emotional weight than the confinement does. Muffle it, pair each click with something excellent, and build the volume back up. This is textbook desensitization and counterconditioning, and if your puppy is generally sound-sensitive the full graded-exposure protocol is worth running properly rather than improvising.
Week 4: Duration
Goal: seconds become minutes, with the crate as the place where good things happen.
Start with three seconds behind a closed door and build slowly. Feed through the bars while your puppy is inside. The moment the door opens, the treat party stops. That contrast is the whole lesson: in the crate, it rains chicken; out of the crate, nothing much. Most owners get this backwards and celebrate the release, which teaches the puppy that getting out is the good part.
Week 5: Distance
Goal: you can leave the room.
The rule your class instructor uses for every other cue applies here too. Work one dimension at a time. When you add distance, cut duration back. One step away for one second, return, pay, release. Then two steps. Then out of sight for a moment. Then, once distance is easy, rebuild duration at that distance. Trying to add both at once is the most common reason a crate plan stalls in week five.
This is also where crate time starts earning its keep as a recovery tool. A puppy that comes home from class overstimulated needs a hard reset, and the post-class nap is when the lesson actually consolidates. Crate, chew, sleep, in that order.
Week 6: The Cue and the Long Game
Goal: your puppy goes in on request, and the crate stays a good place for life.
Once entry is enthusiastic and predictable, add the word. Say “crate” or “bed” just before the puppy is about to walk in anyway, then pay. You are labeling a behavior that already exists, not summoning one. Keep paying occasionally forever, because a cue that stopped predicting anything eventually stops working.
Long-term maintenance is mostly about surprise value. Leave a stuffed toy or a bully stick inside for your puppy to discover unprompted. A lick mat clipped to the wall buys ten quiet minutes. Keep the door tied open when the crate is not in use so the puppy can drift in and out on its own. And never use it as a punishment. If you genuinely need to park an overstimulated puppy, walk it in cheerfully and pay it for going.
Troubleshooting the Three Classic Failures
Whining. Do not open the door on a noise. Releasing a crying puppy teaches, in one clean repetition, that crying is the exit key. Wait for a few seconds of quiet, reward the puppy inside, then open the door. That said, whining is information: it means you asked for more than the puppy was ready for. Drop back a stage and rebuild.
The exception is overnight potty needs. An eight-week-old genuinely cannot hold it, and a puppy fussing at 3am usually needs the garden, not a lesson. Take it out on lead, no play, no chat, straight back in.
Refusal to enter. Almost always a stage-two problem that someone tried to solve at stage four. Re-tie the door open, go back to feeding meals at the entrance, and stop asking for entries for several days. Occasionally the crate itself is wrong: too small, too open, sited in a busy hallway, or on a slippery tray.
Tolerance that will not grow. If your puppy is fine for ninety seconds and falls apart at two minutes, you are building duration in jumps that are too big. Vary the intervals rather than always pushing longer.
When It Is Not a Crate Problem
There is a line between a puppy who has not finished the protocol and a puppy who is panicking. Frantic escape attempts, drooling, soiling a crate it is otherwise clean in, damage to the door, or distress that does not settle at all are not signs you need to be firmer. They are signs of possible separation-related distress, and continuing to shut the door on it makes the association worse every day. Stop crate work, and get an assessment from a credentialed professional, ideally a board-certified veterinary behaviorist (a DACVB) or a certified behavior consultant.
That is also worth remembering when you choose a class in the first place. An instructor who tells you to “let them cry it out” is telling you something about their whole methodology, and the differences between class models run deeper than price. A good one will ask how the crate is going in week three, and adjust your homework when the answer is “badly.”
Crate training takes anywhere from a couple of days to a couple of months, and the range is mostly about the individual puppy rather than the owner’s competence. What reliably shortens it is running the stages in order, at the puppy’s pace, alongside the class skills that make each stage easier. What reliably lengthens it is skipping to the door.
Further reading (sources)
- American Kennel Club on a stage-by-stage method for stress-free crate training
- Humane Society of the United States for crate sizing, siting, and how long is too long
- American Veterinary Society of Animal Behavior with the position on early socialization and force-free method choice
- Fear Free Happy Homes for spotting the difference between mild protest and genuine panic
- Whole Dog Journal on why confinement training belongs on a plan rather than a deadline